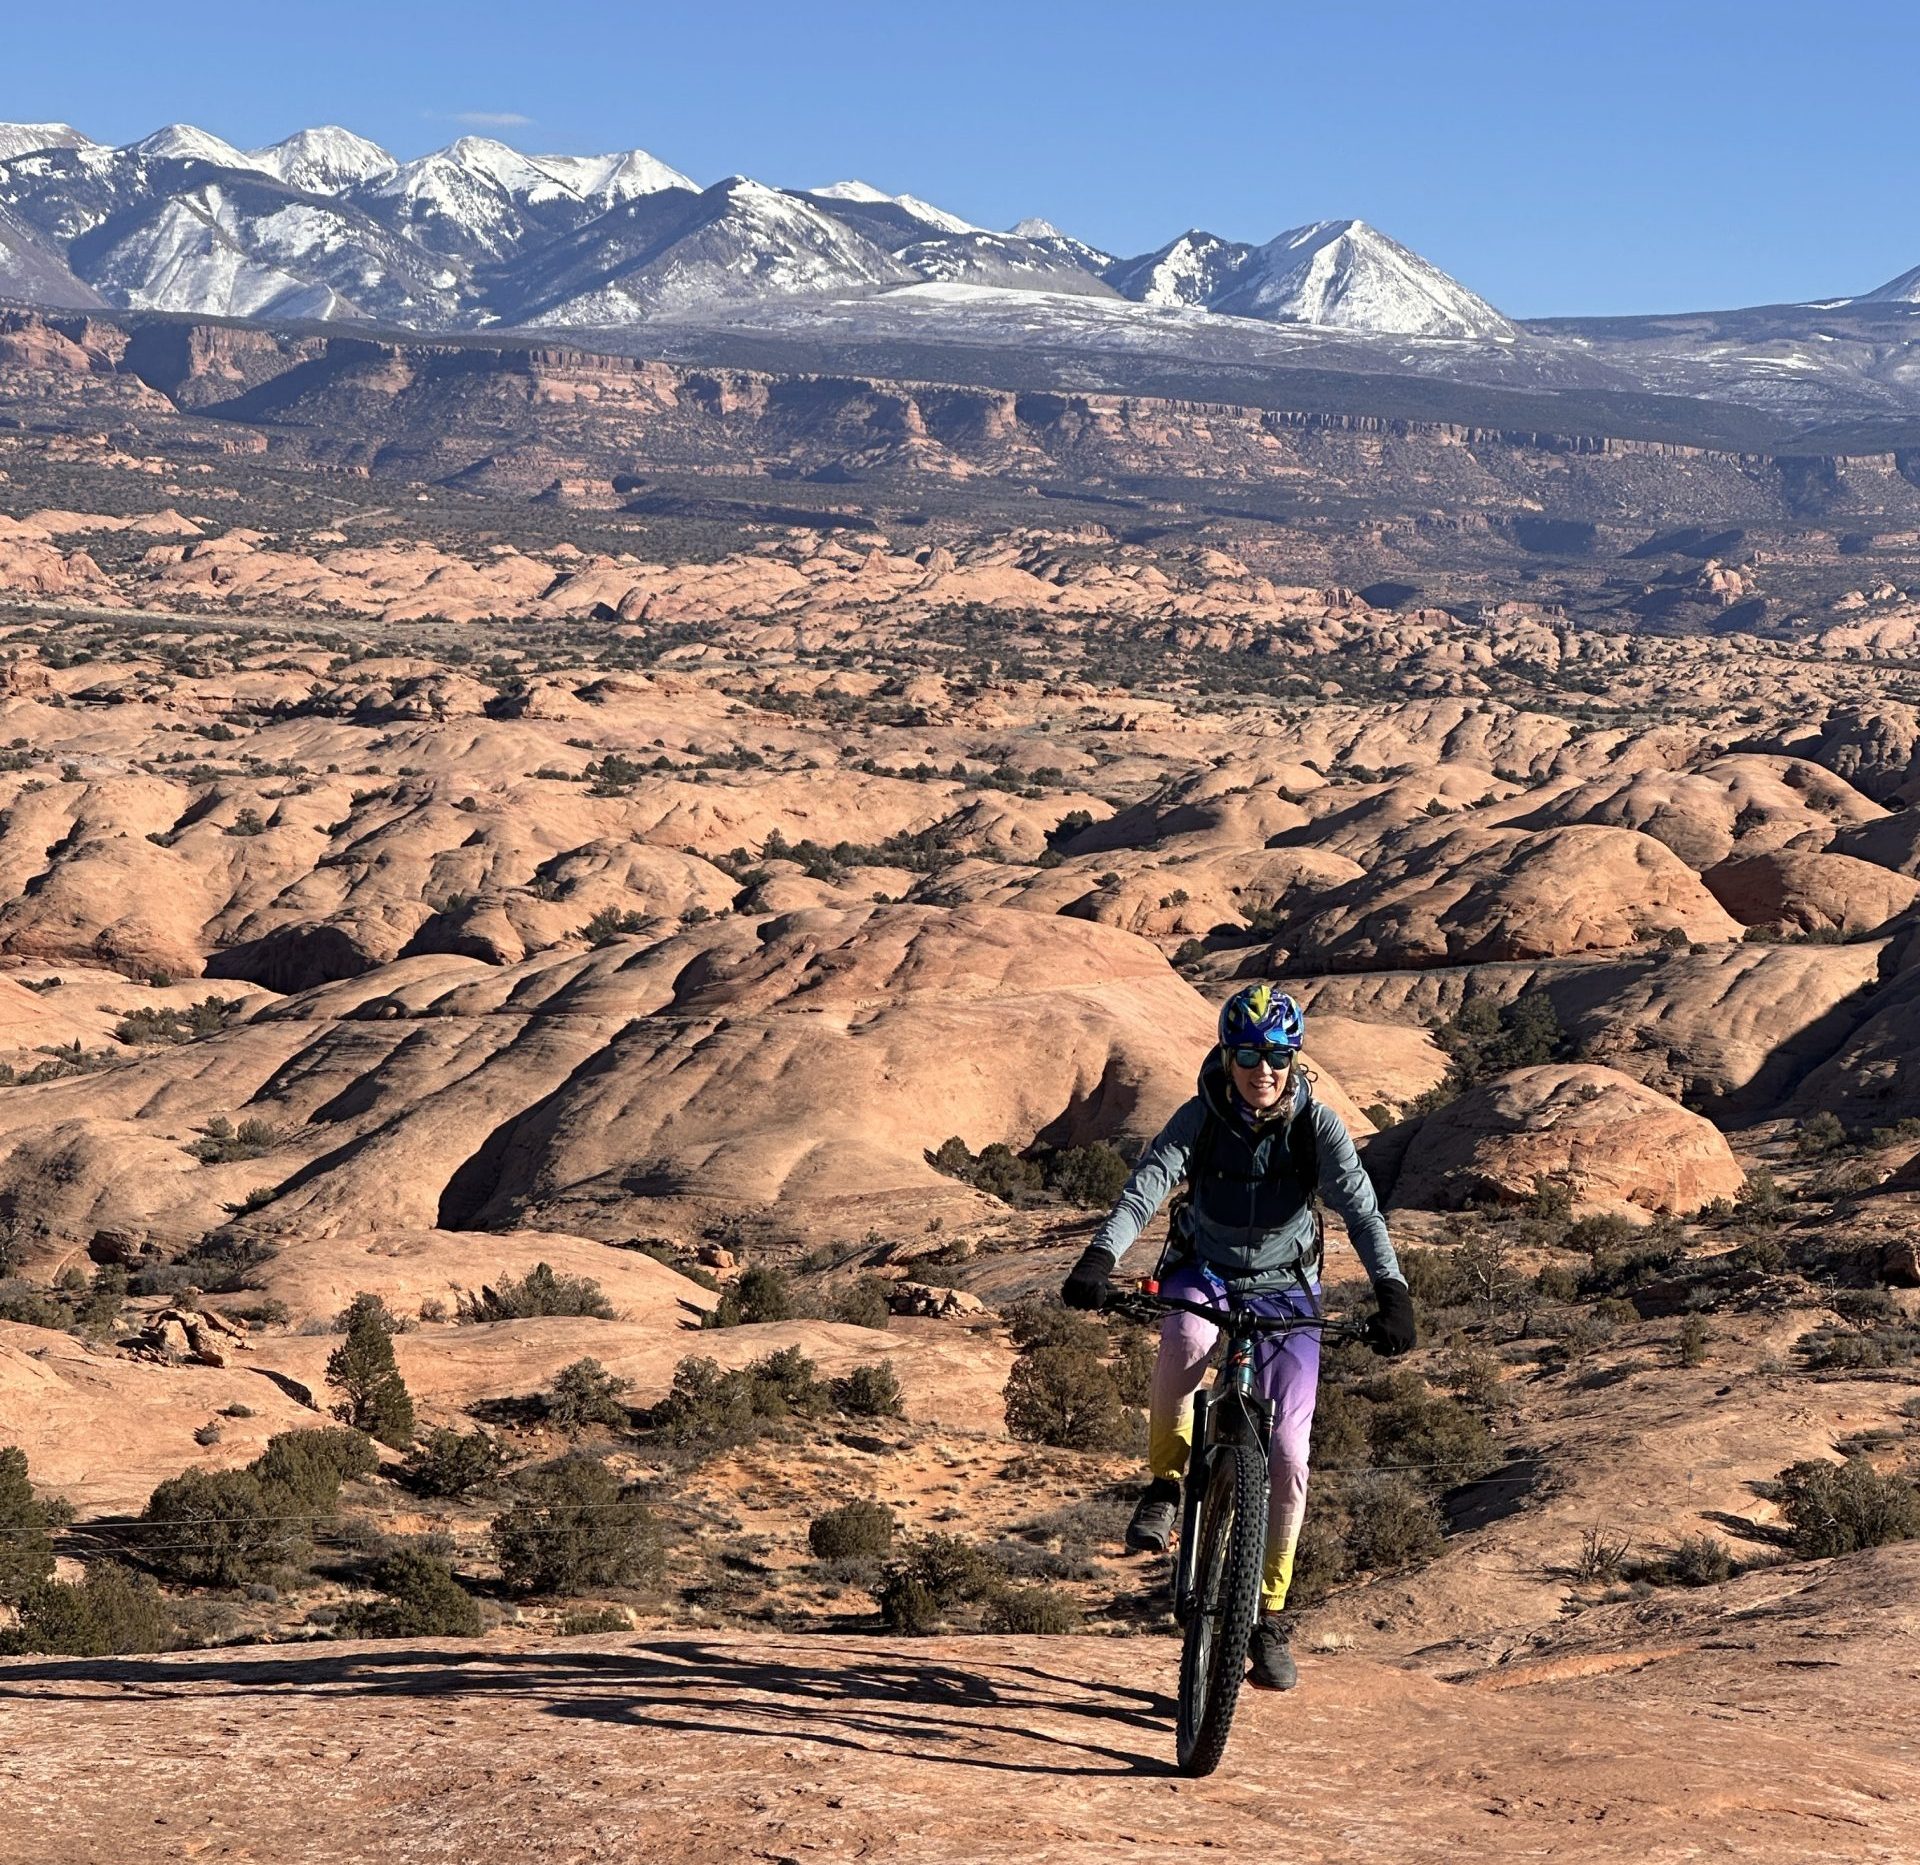
Rim Tours guide, Reid Bakken, tunes up a bike during an early spring guided mountain bike tour in Arizona’s Sonoran Desert. *Spring is around the corner*, so it’s time to get ready for a new season of riding! Whether you haven’t seen your bike since you stored it in the garage on Halloween, or you’ve been giving it weekly mud and snow workouts all winter, it’s smart to go through your mountain biking gear from top to bottom, at least once a year, checking for wear and doing the kind of deep maintenance you may be too busy to do during the riding season.
If, like many folks, you prefer to leave such things to the professionals, take your bike to a shop and ask them to give it an annual tune-up. For the budget conscious, or those who prefer a more hands-on approach, below, we include our list of Spring Tune-up Tips. After all, it’s never a bad idea to get to know your equipment on a more intimate basis.
Wash Your Bike
- Before inspecting it, give your bike a thorough wash with soap and water.
- Ideally, use a long-handled, soft bristle brush that you can pick up in any hardware store, a bucket of soapy water, and your garden hose.
- Best to avoid high pressure nozzles (no power washers) especially around the shocks or bearings — just use a standard garden hose nozzle set for a gentle spray (higher pressure setting is fine for the tires.)
Overall Inspection
- Start by giving the entire bike a thorough “once-over” — visually inspect the entire bike, looking for anything unusual, like wear spots, scrapes, scratches, or leaks.
Tires
- Check for cracking and dry rot. An improper storage location (e.g. too close to a heater) can cause tires to degrade over the winter.
- Fill to standard air pressure, leave over-night. Check again 24 hours later to see if they hold pressure.
- For tubeless setups: Replenish sealant! Sealant needs to be replenished routinely during the season (in arid conditions, like here in Moab, probably every couple months or even more often.) This is especially true at the beginning of the season. You may be able to top off your sealant without a compressor, but depending on your tires and rims, a compressor may be required. *Most people will need to take their bike to a shop to top off the sealant.*
Wheels
- Check wheel alignment. You should not be able to notice any discernable movement side-to-side during rotation.
- Check wheel bearings for play. When gripping the tire firmly on opposite sides of the wheel and torqueing it back and forth, you should not be able feel any bearing movement. If the bearings have any play in them, take it to your bike shop.
Brakes
- Spin the wheel, checking the rotor to see if you can detect any wobble or movement as it spins through the calipers. There should be zero movement. If any is detected, you can carefully bend it true again, or take it to a shop if there is any.
- Remove the wheel. *Be careful to avoid depressing your brake levers while the wheels are removed* (doing so may result in the pistons moving into the gap usually occupied by the rotor.)
- Check the brake pads — if worn more than 50%, replace them.
Suspension
- Check the front fork stanchions for scratches, or signs of oil leaks. Do the same for the rear shock and the seat dropper post. The oil seals do dry out – if you suspect this to be the case, take your bike to a shop for repairs.
- Do a “sit test” — get on the bike and quickly sit or stand on the pedals in order to depress the shocks while watching carefully both the compression and rebound damping rates (notice how quickly the shocks leave and then return to their normal resting position.) Adjust as necessary. Check this [Bike Radar article](https://www.bikeradar.com/us/mtb/gear/article/how-to-adjust-rebound-and-compression-settings-on-your-mountain-bike-44240/) for a detailed explanation on shock adjustments.
Control Lines
- Check your brake, shifting and seat dropper cables. Look for signs of crimping or bending, especially on the seat dropper line where it enters the seat tube, if applicable.
- Check the shifter controls to make sure that each index click results in correct movement of the chain to the next gear on the cassette. If there is hesitation or skipping, adjust as necessary.
Frame, Headset
- Carefully inspect the frame, looking for scratches, gouges, dents or cracks that may have escaped notice last season. If you find anything that looks potentially serious, take it to your local shop for an assessment.
- Use a wrench to tighten each and every bolt (preferably a torque wrench, applying the specified foot-pounds for each bolt.)
- Check the headset— when lifted off the ground, the front wheel and handlebars should turn freely. If they stick, the grease may be old and require replacement, or the bearings may need adjustment.
Drive Train
- Clean your chain by running it through a clean rag, then, lube it with fresh chain lube, wiping away the excess. Inspect the chain rings and cassette for any bent teeth. Check the chain for stiff or bent links.
Personal Gear
- Your personal gear is also important. Check your shoes for wear, your helmet shell for cracks, and the chin straps for signs of stress. This is a great time to clean your back pack of old cliff bar wrappers. Clean and check your hydration system, refresh any first aid or bike repair supplies you carry.